The purpose of this blog is to chronicle the restoration of my 1934 Stoner Super-8 pinball machine.

Please note* You will find the oldest post is at the bottom, newest at the top...

Friday, January 31, 2014

1031

Today I cleaned the cabinet and have given it a coat of wax.  Luckily it does not need as many coats as the playfield because it is harder to buff out as there are wooden trim pieces that make it more time consuming and difficult.

The cabinet as you can see was extremely dirty.  There was white paint that had been splattered on the right side.  On the left side there was silver paint overspray.  I started out by cleaning the whole cabinet with mineral spirits to remove any grease, wax or polish.  I followed it with 50/50 water and Simple Green and then took super fine steel wool and buffed out the paint and got 99% of it off.  There were a few spots where the white was in a few cracks and was unable to get it out but luckily most was removed.  Then I finished by giving a coat of wax.  I will do one more tomorrow and should be done with the cabinet.

I found a couple interesting things when cleaning.  Among the dings and scratches and cigarette burns I found that somebody carved a P into the front of the cabinet when it was once on location.  The other thing I found was the serial number.  When I restored the Signal I searched all over the machine but could not find one or at least not sure if I did.  I found lots of numbers written in pencil on the inside of the cabinet and found the same with this machine.  But today when cleaning it I found the serial number stamped into the front of the cabinet below the coin slide.

Right side with white paint

You can see what it looked like originally where the plunger was removed.

Silver paint overspray on left side


Front after cleaning.

No more silver paint

No more white paint


A vandals handy work

Super 8 number 1031

Wednesday, January 29, 2014

Arnold would be proud

When I purchased the machine I thought for sure I was going to have to refinish the playfield.  It was very warn and dry.  The Signal, even though was dirty and in need of some cleaning looked sooooo much better than this machine did.

I started out by trying to clean it.   I first tried using Murphy's Oil Soap Citrus which is what I used on the Signal and right away I started to lose a little paint from the Super-8 logo and stopped right away.  I started to look into what cleaners I could use and also for what to use to clear it with.  Pretty much everybody said they would not recommend clearing it and instead just wax it with paste wax which is what I had done on the Signal.  I also found out that as long as I removed all the dust and lose dirt, I could polish with Johnson's paste wax and not only would it shine it up, it would clean it at the same time.

When I did the Signal, I was told to use thin coats and to do minimum 6 coats.   When I had done that, I was always nervous I was putting on too much.  I was not sure if I was being even with the amount either across the entire playfield.  If you have not used paste wax, basically you rub a cloth on the paste which comes in a large can similar to a shoe polish can.  I was not sure at all if I had enough or too much and when to add more, etc, etc...

So this time I started to look for more information on best techniques to use.  I found a technique that was listed on two websites were you take a glob of the paste wax and put it in the center of a cloth cut from an old t-shirt.  Grab the corners of the cloth and twist them to form a ball of wax in the center of the cloth.  You then rub the cloth on the furniture and it will ooze out of the material and spread evenly.  I figured I would give it a shot and it was SO much easier.  I wish I had done this last time.

I have done 5 coats of the wax and followed the instructions Arnold gave the Fonz (It was the Fonz that Arnold told to do it, right?).  I waxed on, I waxed off.  I could not be happier with the results. I will do a few more coats and I still need to do the pathway from the plunger but the difference so far is amazing.  I did lose a little of the paint but I had to clean it so really no way to avoid it.  I believe though no more should be lost as it is protected.  There was an option to touch up the paint but I think it would look like crap and fake so chose to let it be what it is...

Is it me though or do these pictures make you think of Gary Payton dishing off to Shawn Kemp for a massive jam?  Maybe it's just me...

Arnold telling the Fonz to wax on, wax off...


Saturday, January 25, 2014

Removing 80 years of build up

I have begun the process of cleaning the metal work on the machine.  When I restored the Signal it had lots of dust and dirt from sitting with no glass in a basement for 40 years. Compared to the Super-8 however it was quite clean. I believe the Super-8 was kept in a barn or shed for many, many years.  It also looks like it was not maintained well in the years it was in use.

The outside ball track was in such bad shape that I started looking for a replacement right away. I did not have any luck finding a replacement so decided to see what I could do with it.  There was a groove down the center which is common on these machines, but this one was very deep, dirty and rough.  The previous owners must have never cleaned or replaced the games balls. The balls would pick up dirt and grind it into the playfield and outside ball track which made it rough. The rough metal would then damage the balls, which would then damage the metal, etc, etc.

You can see here how bad it was when I got it.

Severe damage to outside ball track


I started out with a Dremel and sanded out the groove to smooth it out. Then I followed by using various grades of steel wool.  Lastly I polished it with Brasso.  It now has a brushed look but the groove is gone, it is smooth and will no longer cause more damage.

Track after sanding and polishing


Next I started to clean and polish the metalwork on the playfield itself. I just gave it a bath with dish soap and warm water with a toothbrush and then followed with metal polish. It is amazing how much nicer it looks. There are some stains I cannot remove but still very happy with how it looks for something 80 years old. The metal castings are really beautiful.  I am still in the process of finishing but have some pics of one of the runways done and the other as it was when I got it to show the difference.

I also started to wax the center of the playfield which you can see in the last picture.  I had toyed with clear coating it, but was advised against it and so am just waxing it.

Dirty metalwork


Cleaned and polished metalwork


Runways, one clean and one dirty to show the difference


More to come....


Friday, January 24, 2014

Kind of addicted...

I recently finished restoring my first pinball machine, a 1934 Bally Signal which you can read about here:    http://1934signal.blogspot.com/

It took about 6 to 7 weeks to complete and I enjoyed doing the research, the restoration process and the people I have met along the way.  I was instantly hooked and started looking for another machine to restore before I was even done with the restoration.  I found a few options but the asking prices were too high for the machines I was looking at and so I offered lower, realistic prices for these machines.

While I was in the process of searching for my next pinball project, I continued with my original plan of restoring the few items I saved from my childhood with the hopes of restoring one day.  I had 3 items total, the Bally Signal, a 1975 Sanyo Comet II pachinko machine that my father purchased for us as kids and my first stereo which was also something my father had picked up, a Grundig Majestic.

I have completed the Sanyo pachinko restoration though it is not what I would truly call a restoration as it looks nothing like it did in it's original state.

This is the Sanyo from my childhood before and after restoration:

1975 Sanyo Comet II prior to restoration.


1975 Sanyo Comet II after the restoration.


The Grundig is still in a holding pattern.  It has not been used for listening to music for over 20 years.  It has just held a place as a beautiful piece of furniture in our living room during that time.  Soon I hope to have it play again...

So I still continued to search for my next pinball and one I came across about a month ago was a Stoner Super-8.  I could see in the pictures it was missing a few things and their cost was way too high.  I gave them a price of nearly half what they were asking and was denied.  I said if you don't get what you want to let me know.

While I was waiting I kept searching.  While I was searching I was also searching for additional pachinko machines, was I was hooked their as well.  I had forgotten how much I loved to play pachinko before an Atari was left under the Christmas tree and rocked my world.  While I was searching I had been discussing the pachinko restoration with my older sister and she also loved it as well and I started to think I would like find and restore one for her son for Christmas.  I checked with her what she thought and thought it was a great idea so the search began.  Long story short as this blog is supposed to be about my Super-8, I found a 1976 Okumura Yuki pachinko machine to restore and got right to work. I don't have a great before shot of his machine but here it is as it looks now.

1976 Okumura Yuki


So back to the Super-8.  I once in a while would get a mail with the seller saying he could come down a little and to come and see it.  I told him if he could come down to my price I would.  I was not going to drive out to look at a machine if the cost was not what I was willing to pay.  It would waste both of our time.  About 2 weeks ago he called me again asking if I was still interested in it and I told him again I was but only at my price.  He said it was time to sell it as he obviously was not getting what he was looking for.  So I took a drive to check it out.  Other than the parts I knew were missing already from the pictures, it looked pretty good so I purchased it.  The only issue is that whatever had been living inside it needed to find a new home... ;-)

Below are the pictures of the machine in the condition it arrived in my house minus the animal bedding I cleaned out of the inside.

Super-8 side view


Super-8 playfield


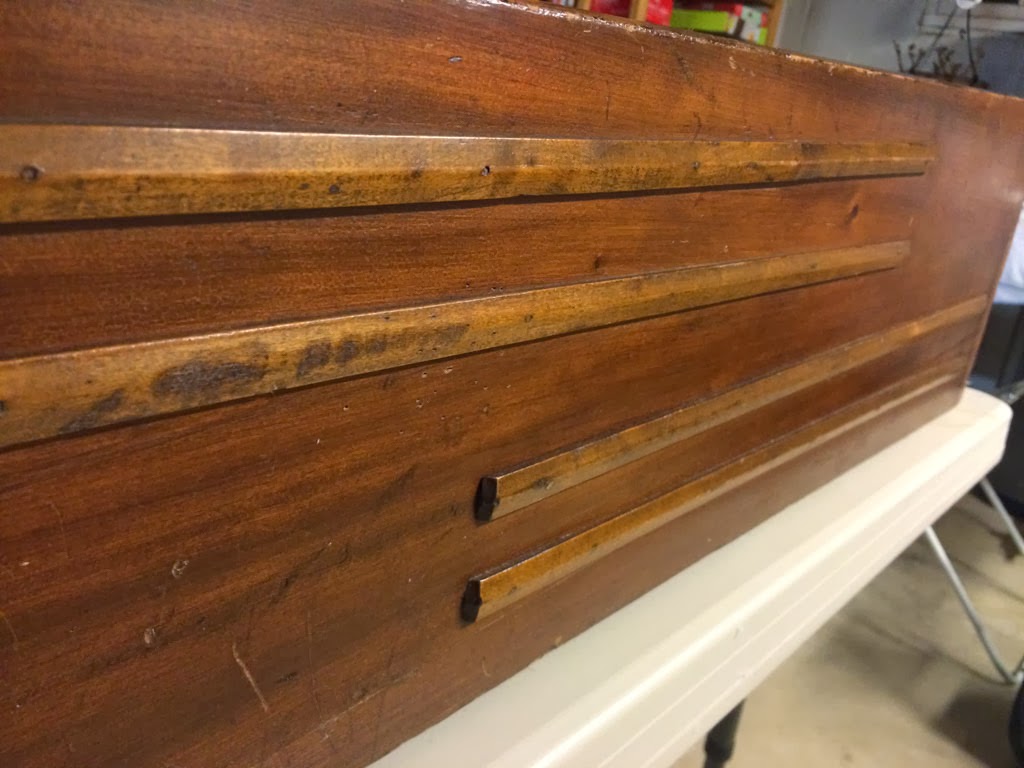
Super-8 close up of the scoring runways

Super-8 artwork

Super -8 - two transformers were inside, both with dry rotted wiring.

Time to get to work! :)